 Call us
 Email us
 Request a meeting
 Live chat
You can get support that's tailored to you, owner exclusives and more when you register your machine.
Getting started
Getting started with your Dyson V6™
You can quickly get up and running with our step-by-step guide.
-
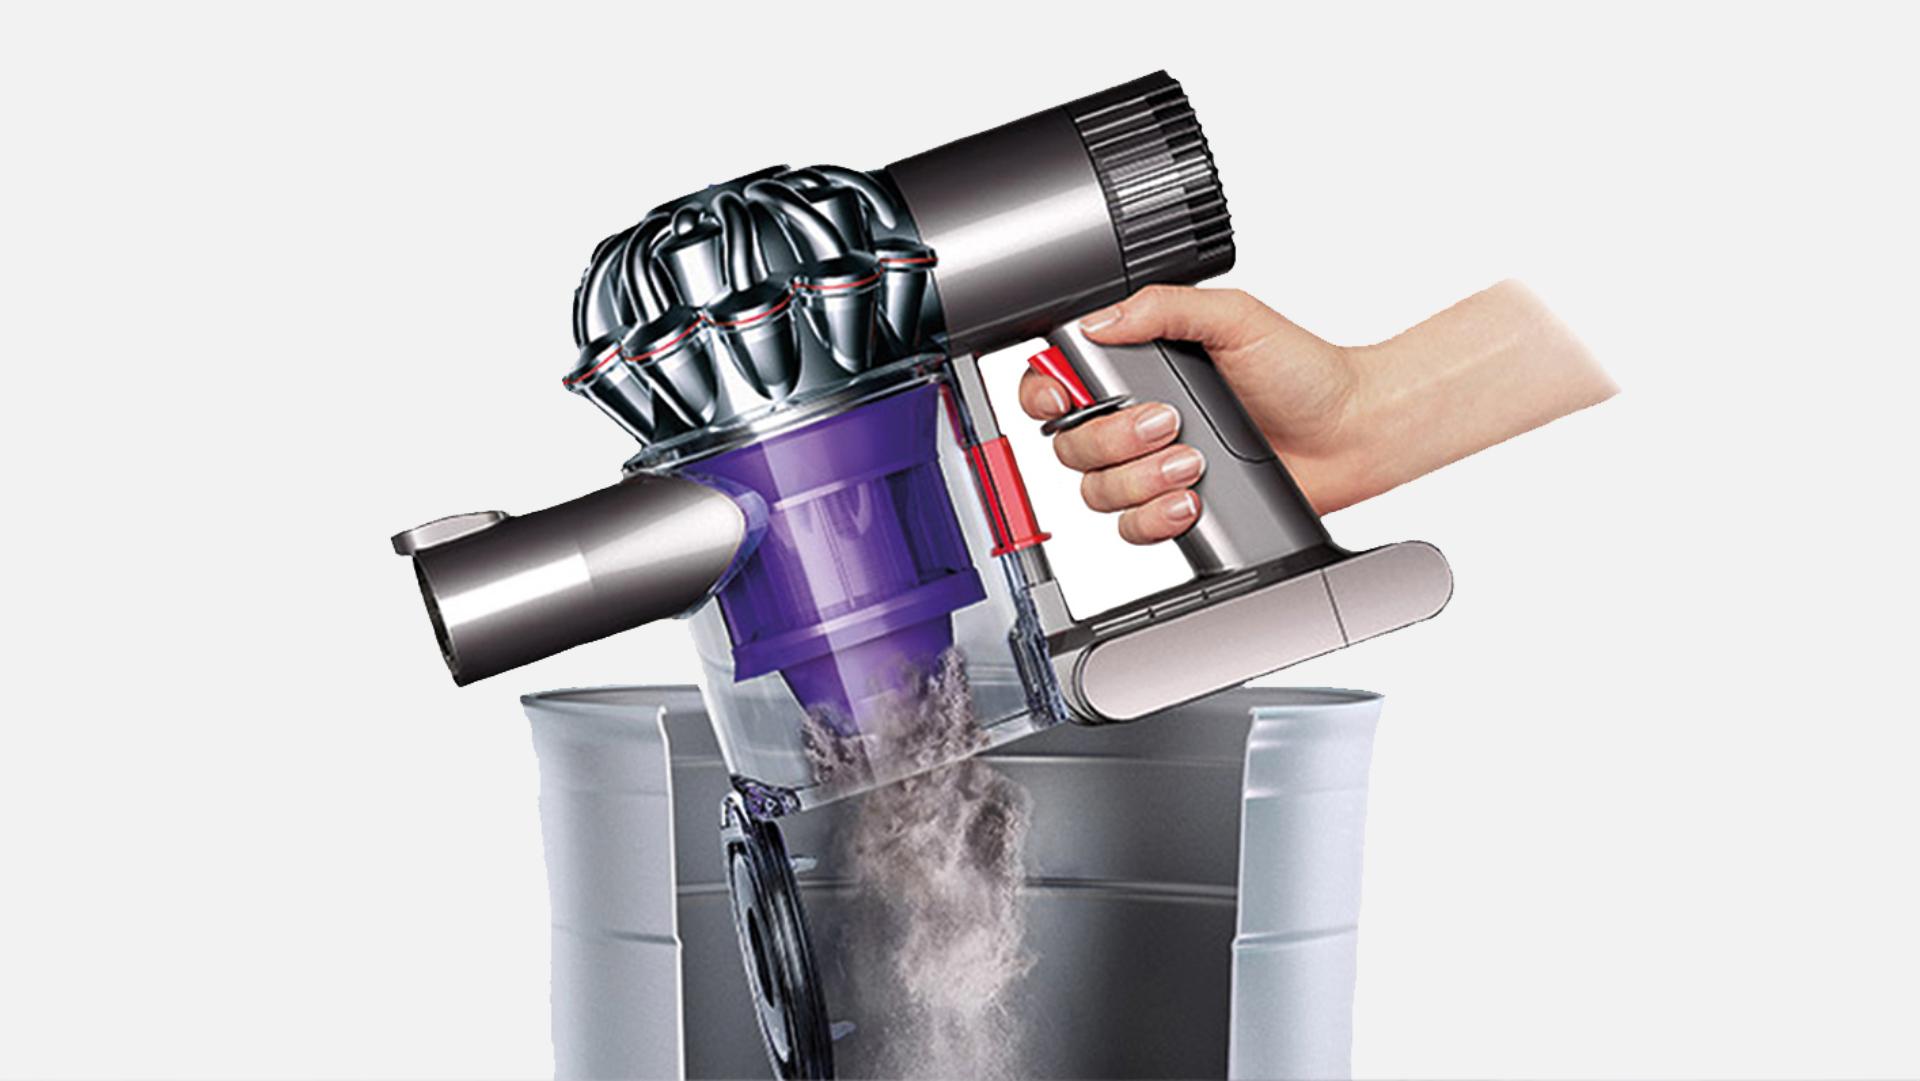
Don't overfill the bin
To maintain suction, keep an eye on the bin and empty it before debris reaches the MAX marker. -
Switch tools quickly
Remove the tool you're currently using by pressing the silver release button to slide it off. Then slide your chosen tool onto the inlet pipe until you hear a click. -
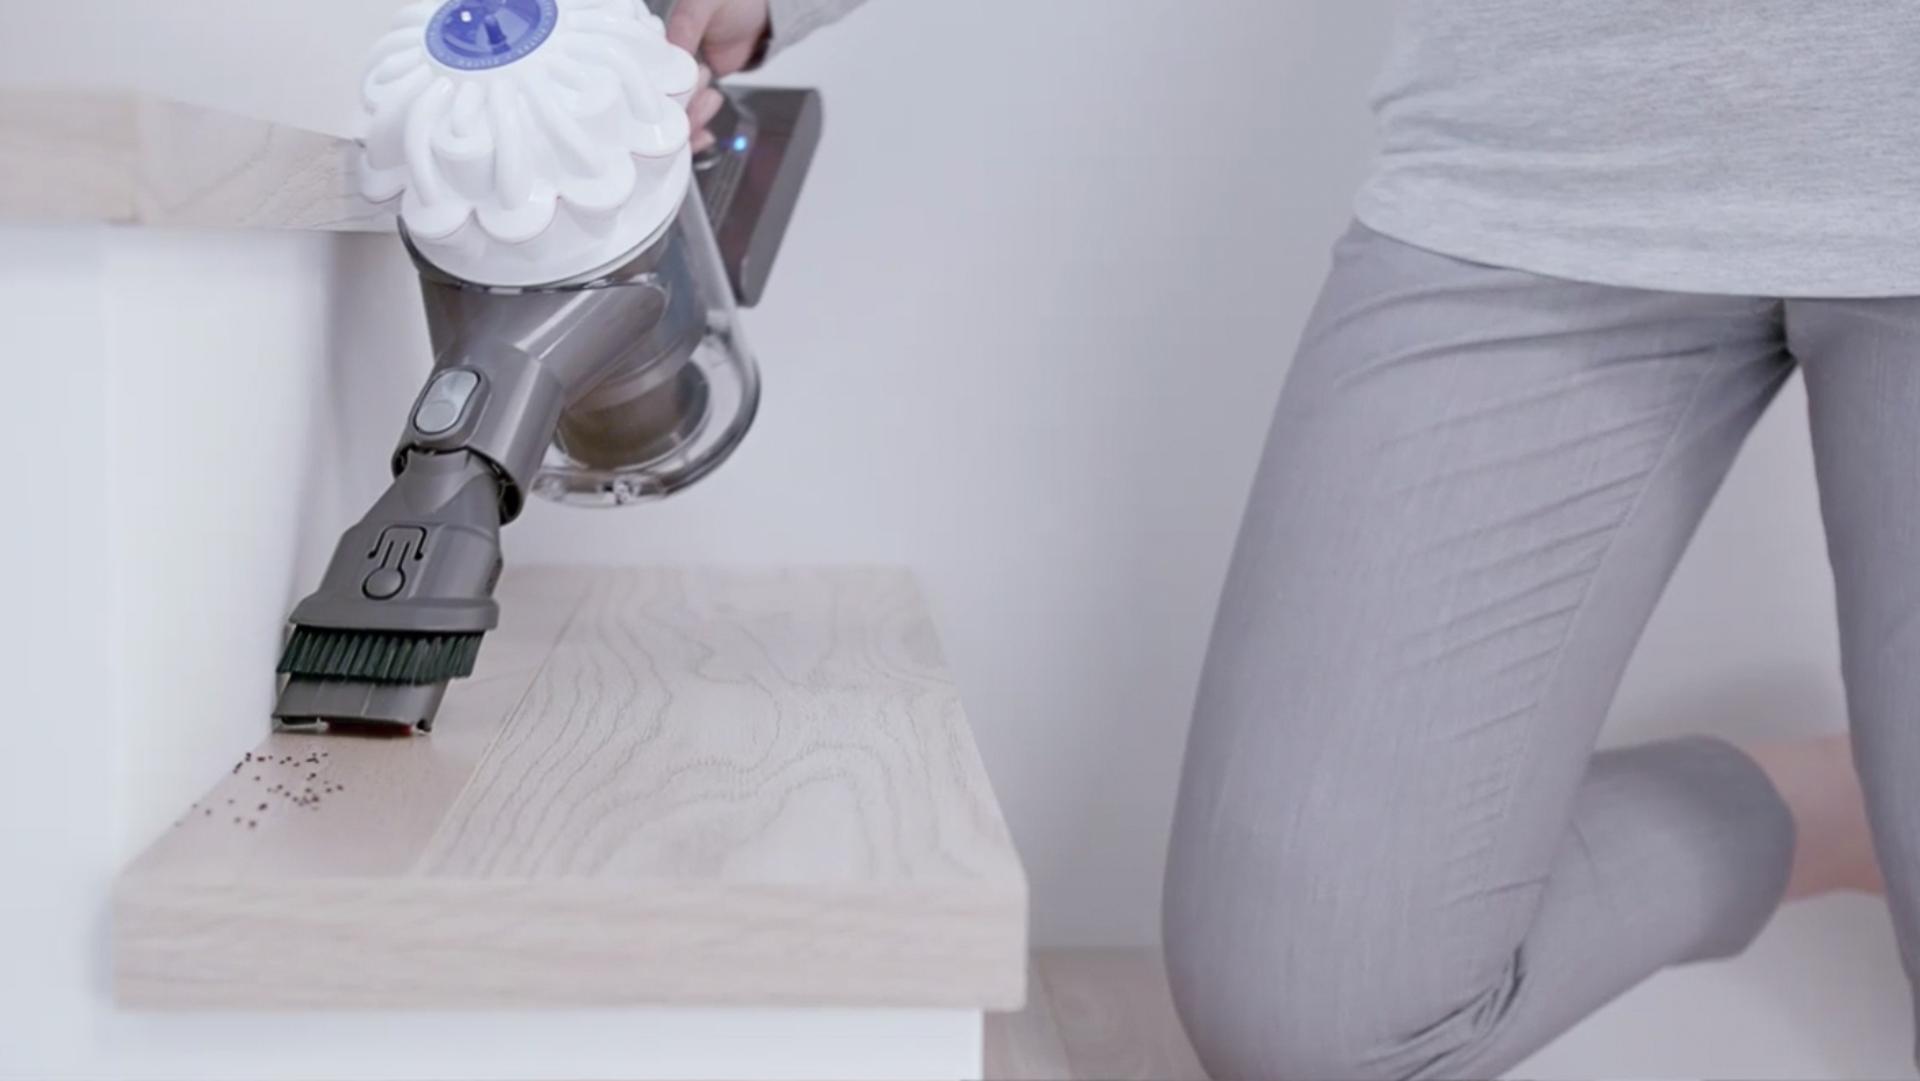
Clean awkward spaces
Clean up high, down low and anywhere in between. Simply attach your chosen tool directly to the vacuum for use as handheld cleaner.


Understanding the lights on your Dyson V6™
The LED lights on your vacuum indicate the current status of your machine and battery.
When in the box
-
When charging the battery
 No light indicates the battery is fully charged.
 A solid blue light indicates that the battery is charging.
-
 Flashing blue light indicates that the battery is not charging. Re-fit the charger or try another socket. If the flashing persisits please call the Dyson Helpline.
  A solid amber light indicates that the battery is not charging due to a tempoarary fault (e.g. too hot/cold).
 A flashing red light indicates that there is a fault, please call the Dyson Helpline.
-

When in Use
-
When using your vacuum, with the trigger pressed - Battery light
 A solid blue light indicates that the machine is in normal operating mode.
- A flashing blue light indicates that there is no power, please charge the battery.
- A flashing amber light indicates that there is no power or a temporary fault (e.g. too hot/cold).
- A flashing red light indicates that there is a fault, please call the Dyson Helpline.
-

When using your vacuum, with the trigger pressed - Main body light
 No light will show when the machine is in normal operating mode.
 A solid blue light indicates that the boost button is in the ‘ON’ position for powerful suction.
-
 A flashing blue light indicates that the battery is running low on charge.
  A fast flashing blue light indicates no power or a temporary fault (e.g. check filter or for blockages).

Cleaning & maintenance
Maintaining your machine
To keep your Dyson V6 in perfect working condition, regular maintenance and cleaning is
important. Watch our guides below on how to clean your filter and check for blockages.
-
Washing the filter + Wash the filter regularly
We recommend washing your filter once a month, for your vacuum to perform at its best. Remove the filter from the vacuum and wash it under cold running water until the water runs clear. Squeeze out any excees water. Leave to dry for at least 24 hours, until completely dry before refitting. -
Checking for blockages
Your machine will make a pulsing sound to let you know there's a blockage. With the vacuum unplugged, check the cleaner head, wand and bin inlets for any debris. Remove any blockages to create a clear path for the airflow.
Emptying the bin
The video guide below shows you how to empty the bin. Alternatively, you can follow the
step-by-step instructions.
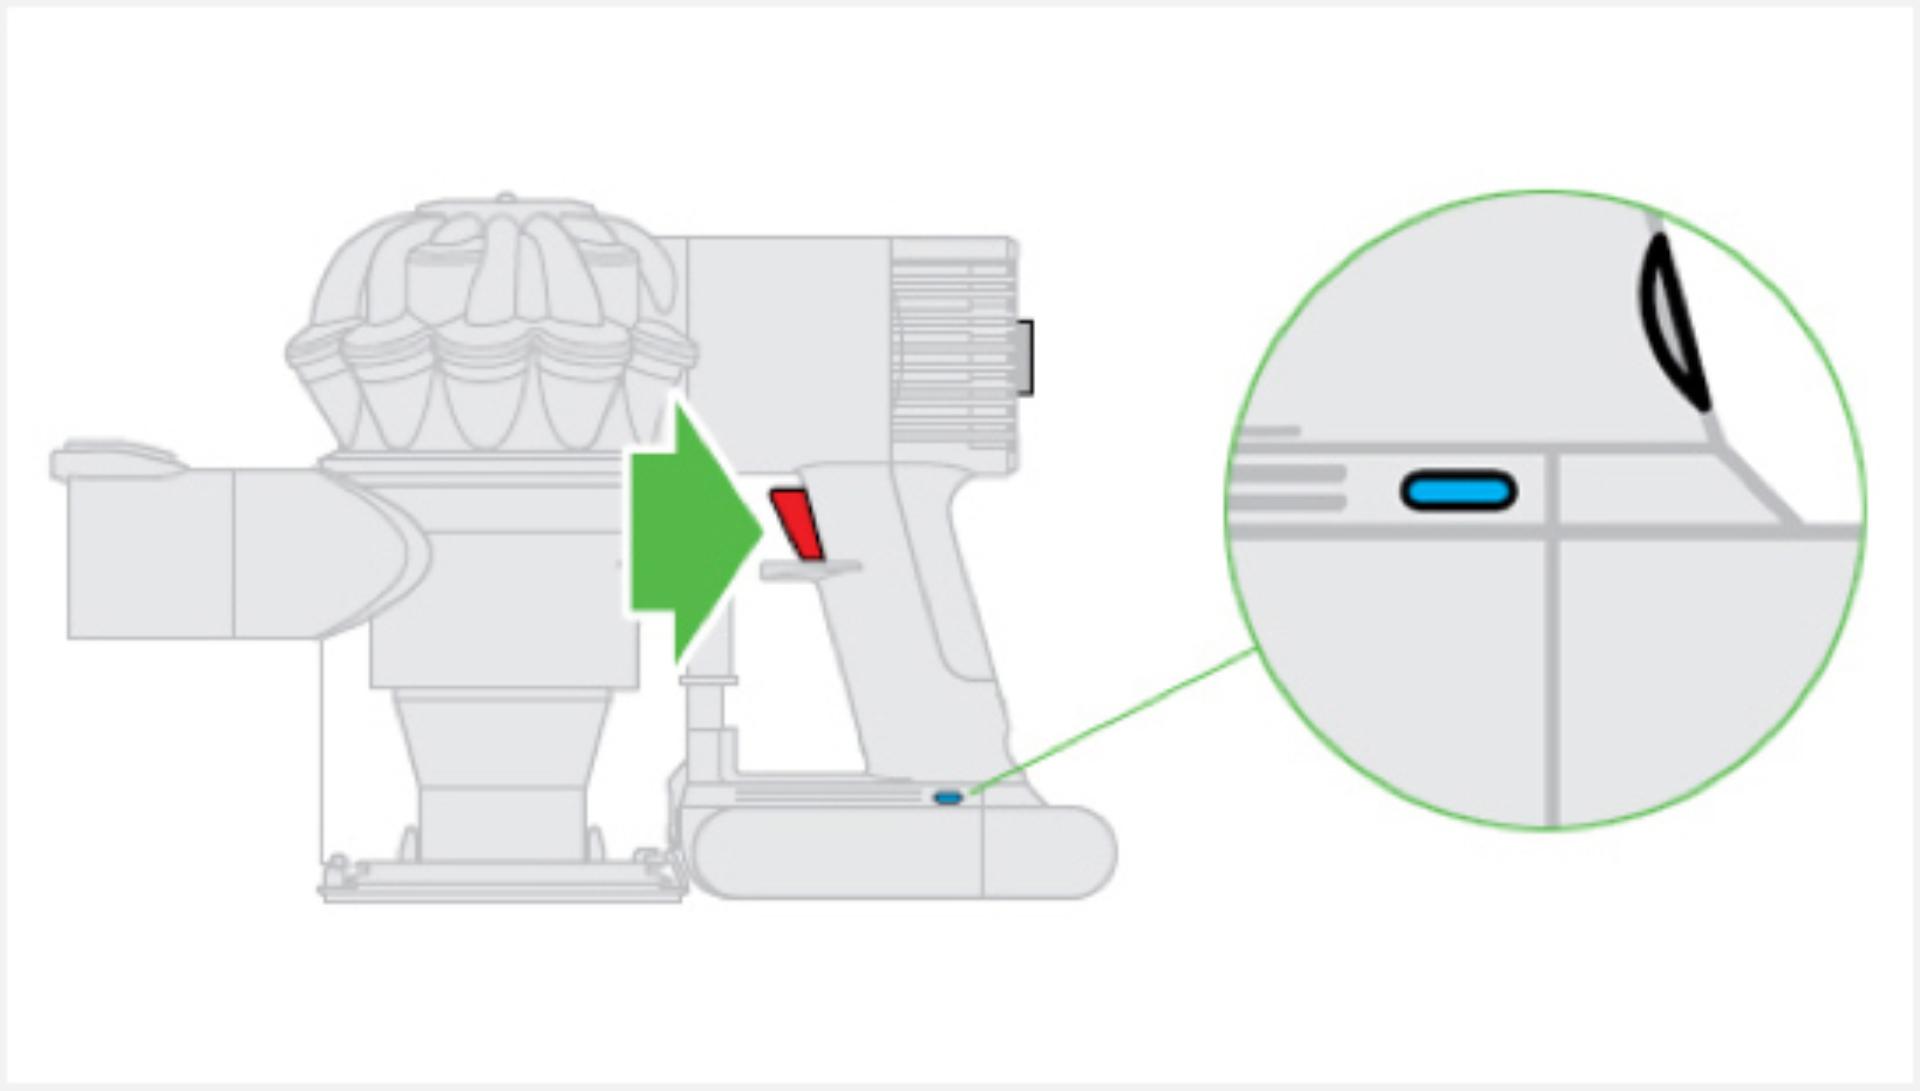
Step 1: Press the red bin release catch to open the bin base.
Step 2: If you wish to clean the bin, press the catch a second time to release it from the cyclone.
Step 3: Clean with a dry cloth only.
Step 4: To refit the bin, locate the tab on the front of the cyclone in the recess in the the bin inlet. Then close the bin base, ensuring it clicks shut.
Cleaning your vacuum cleaner heads
Keeping your cleaner head free from tangled debris and a build up of fine dust helps it to
perform at its best. Our step-by-step instructions and video guides show you how.
-
De-tangling the brush bar
Step 1: Using a coin, undo the end cap by rotating anti-clockwise. Remove the brush bar.
Step 2: Remove all debris from the brush bar.
Step 3: Replace the brush bar back into the cleaner head.
Step 4: Using a coin, lock the end cap by rotating clockwise. -
Washing the cleaner head
Step 1: Using a coin, undo the end cap fastener by rotating anti-clockwise.
Step 2: Lift the end cap and remove, before removing the main brush bar.
Step 3: Then lift out the rear brush bar.
Step 4: Wash both brush bars with cold water.
Step 5: Remove as much excess water as possible.
Step 6: Stand the brush bars upright and leave to dry for at least 24 hours, until completely dry.
Step 7: Replace the rear brush bar, followed by the main brush bar.
Step 8: Replace the end cap and using a coin, lock the end cap fastener by rotating clockwise.
Battery maintenance
How to install the Dyson V6™ vacuum replacement battery
Frequently asked questions
We recommend that you clean the filter at least once a month. You can find filter maintenance instructions in the machine's User Guide.
No. The use of an extension cable is not recommended.
No. Don't pick up water or other liquids with your machine.
The Dyson guarantee
-

'How to' videos
To help you get the most from your machine. Quick and easy.
-

Helpful tips
Tailored reminders that will keep your machine working at its best, for longer.
-

Exclusive owner benefits
Priority access to previews of new Dyson technology, events and offers.
-

Expert advice. 6 days a week.
Freephone and live chat. Available Monday to Friday from 8am to 6pm and Saturday from 8am to 5pm AEST.
-

Free Dyson parts and labour
Replacement parts or repairs if something goes wrong during your guarantee period.
-

Hassle-free replacement
If we can’t repair your machine, we’ll replace it while it's under guarantee. Fast.


We don’t stop caring about our machines once they’re yours. Activating your guarantee allows us to give you a tailored, complementary, direct service for your machine. Even after your guarantee has ended, we’ll still be on hand to help.
